1. Pick up a chair at a garage sale, from your kitchen, or off craigslist with an ugly cover. Pick out a new fabric.
Gather Supplies:
Approx. 1/2 to 3/4 yard of fabric
Scissors
Staple Gun
Staple Remover
Pliers
Hammer (possibly)
Batting- the flat kind (possibly)

2. Turn chair over. Most cushions are attached with four screws. Unscrew the four screws and pop out the cushion.
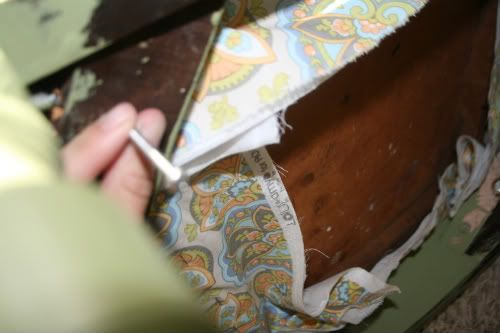
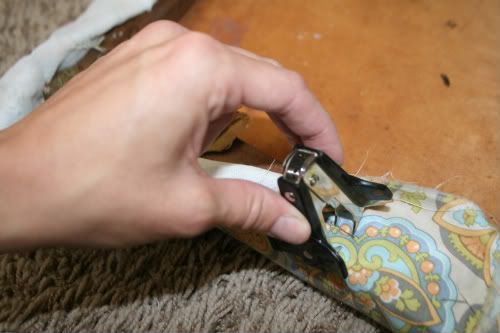
3. Take one end of the old fabric and begin pulling up. Use your staple remover or hammer ( if it is attached with nails) to loosen all your staples.
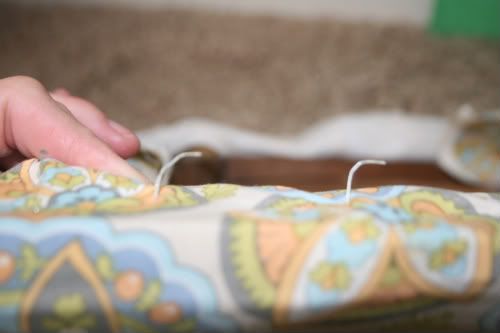
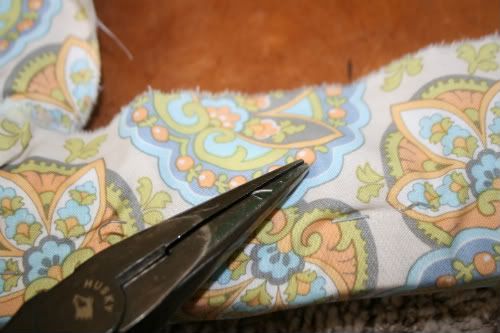
4. Once your staples are loose, use the pliers to remove all of them completely.
5. Remove the old fabric and set aside.
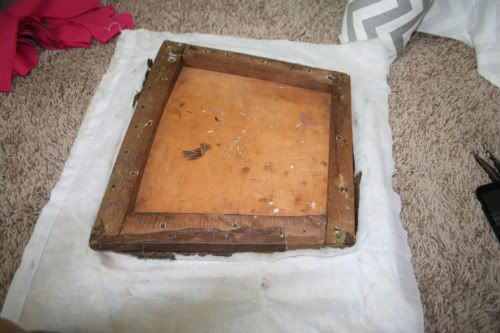
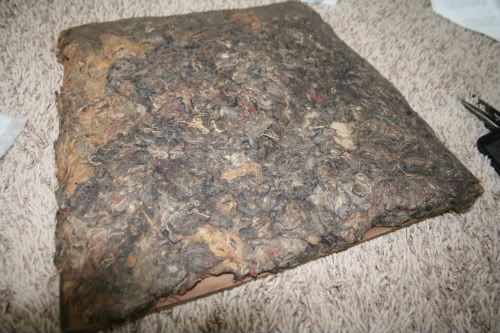
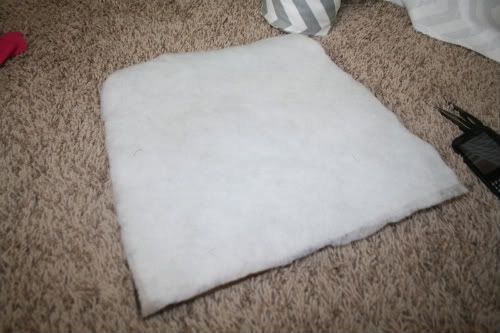
6. Check the top of your cushion. If the batting is disgusting or flat (like this one). Use the wood base as a pattern and cut out batting to fit over the top cutting it about 1" bigger then the base.
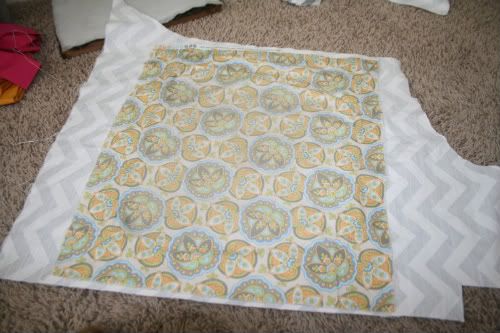
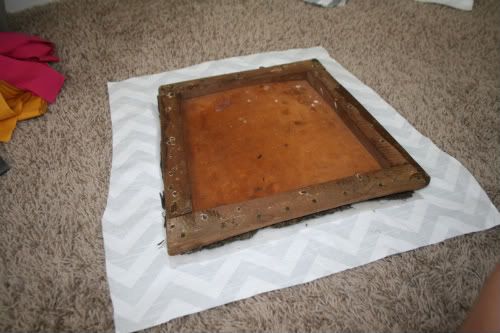
7. Take your new fabric piece and lay it flat. Lay the old piece of fabric over the top of it. This is your pattern. Cut around the old fabric.
8. Take your new piece of fabric, lay your cushion base right side down on your fabric. For the cushion I have done here, the fabric I took off was not the original fabric. Since the one I took off was so rectangle, I trimmed around the cushion base to make it so that the fabric was only about 3" all the way around following the curves.
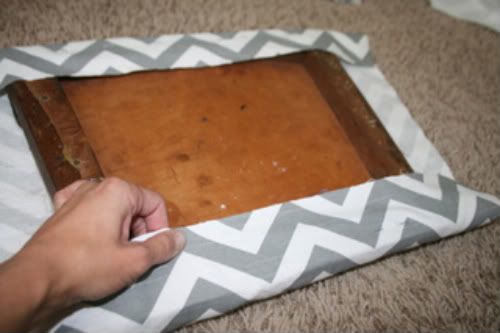
9. Take one side of the fabric. Start near the corner, but not the actual corner and begin stapling about 3/4" in. Do this across the whole side.
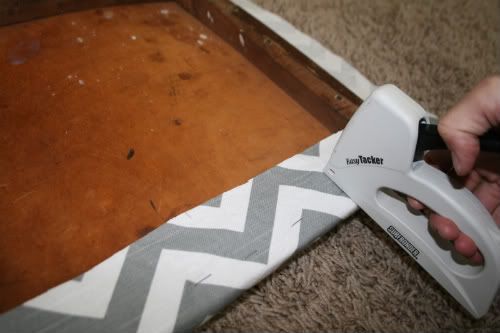
10. Go to the opposite side of the one you just did and repeat the same thing only this time you want to make sure you are pulling the fabric fairly tight. If you pull too tight it will pucker and if it is too loose it will have waves.
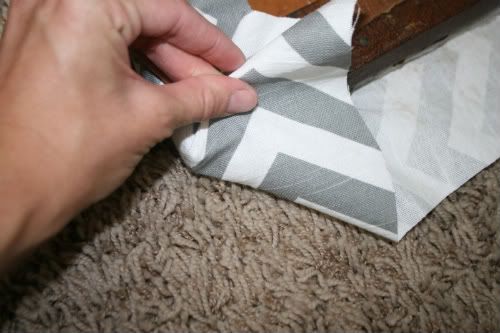
11. Start on one of the front corners. Begin pulling fabric little by little into a little bunch. Before you staple you will want to pull up the side attached that is not stapled and smooth out any kinks that are showing on top. Once it looks smooth, staple in place. Be sure not to staple over the screw holes.
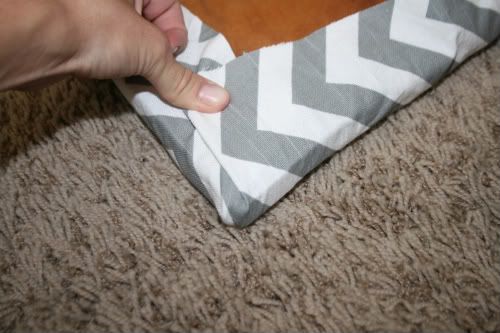
12. Continue down that side with the staples and do your back corner.
13. Repeat on the other side.
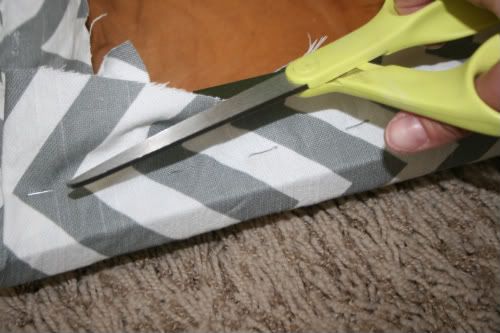
14. Flip over you cushion to make sure you like how tight you did it. Now turn it back upside down and trim any access fabric.
15. Fit your cushion back into the chair and screw the four screws in. If there is fabric in the way you can either screw through it or trim it.
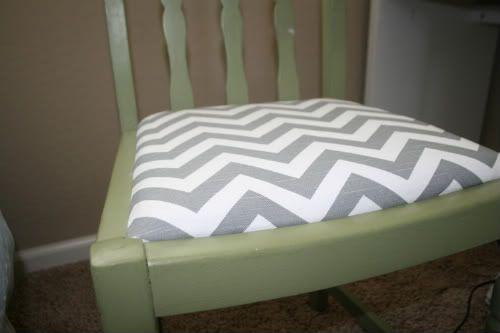
Finished product! Chevron chair cushion. Simple as that. Yay!
No comments:
Post a Comment
Thanks for stopping by Abode Casa Home. If you have a question please email me at tuftlove@gmail.com.